Movie Files | iMovie
iMovie
At the first opening of iMovie, you will probably see a catchy little
intro with children dancing and a tune playing.
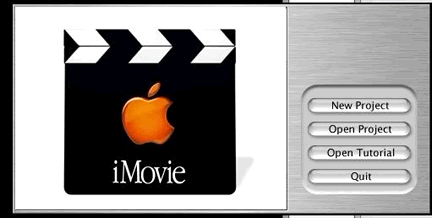
Then you can choose one of several options
from a list as shown in the following image.
After working on a movie, the next time iMovie is opened, it will probably try to locate the movie that was worked on previously. If you want a different movie, you can use the File pull down menu to choose New Project or Open Project.
Parts of an iMovie window
Once you've opened a new or existing movie, you'll see a window like the one shown below.

Click the image for a larger version and an explanation of the various parts of the window.
If you have a camera connected to the computer and it is turned to the
VCR setting, the monitor window will be blue and show the words "Camera
Connected" when you open the iMovie program.
If you do not see "Camera Connected" in the blue monitor,
look in the bottom left corner and make sure the blue button is moved
to the DV camera mode symbol.

Downloading a movie to a computer
With the camera connected to the computer the movie can be downloaded to the computer.
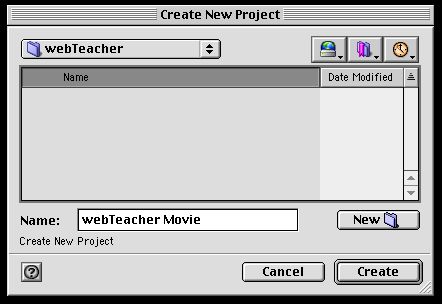
If you are starting a new movie and you have not already been asked to
choose a New Project, click on File.
Choose New Project and follow through the steps of naming your movie,
making a new folder, and saving it in a place of your choice.
(Note: There is no Save as choice under File in the iMovie program.
Therefore, take this opportunity to give your movie a name of your choice.)
Now click the Import button under the blue monitor screen. The camera should start up and begin dropping clips into the shelf. Downloading can stop at anytime by clicking the Play button or turning the camera off. You will notice that the each clip is numbered at the bottom and the length of time of each clip appears at the top.
Now let's move on and see some of the ways these clips can be edited and developed into a movie using the tools in iMovie.